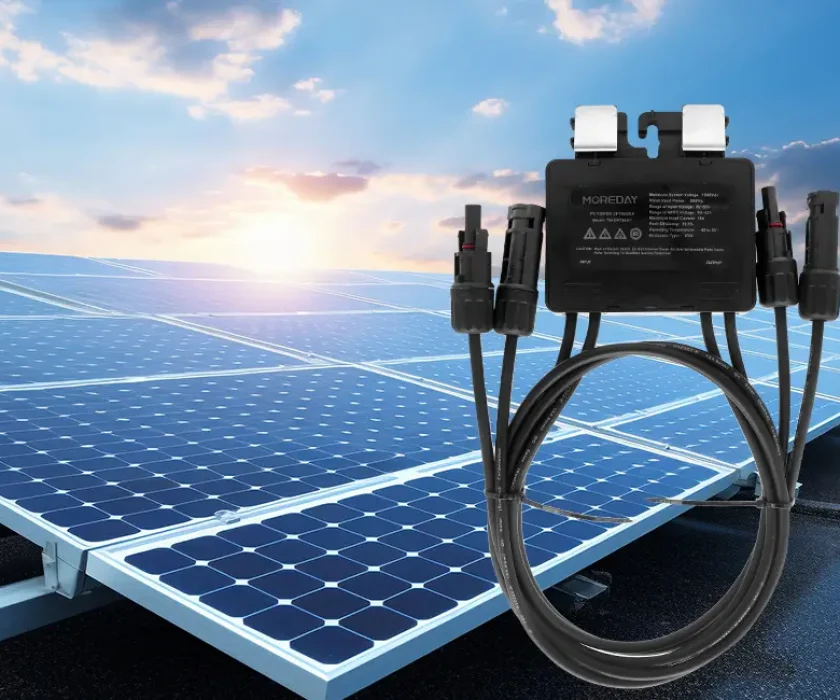
Solar
Crimping an MC4 connector correctly is essential for ensuring a safe and efficient solar power system. A poor crimp can lead to power loss, overheating, or even system failure. Whether you’re installing a residential PV system or working on a commercial solar project, understanding how to crimp MC4 connectors properly is a must.
This guide walks you through the tools, steps, and best practices to achieve a secure and reliable connection.
What You Need to Crimp MC4 Connectors
Before starting, make sure you have the right tools and materials:
- MC4 connectors (male and female)
- Solar cable (typically 4mm² or 6mm²)
- MC4 crimping tool
- Wire stripper
- MC4 assembly wrench (optional but recommended)

Using the correct tools is critical. A standard crimping tool may not apply the right pressure, resulting in a weak connection.
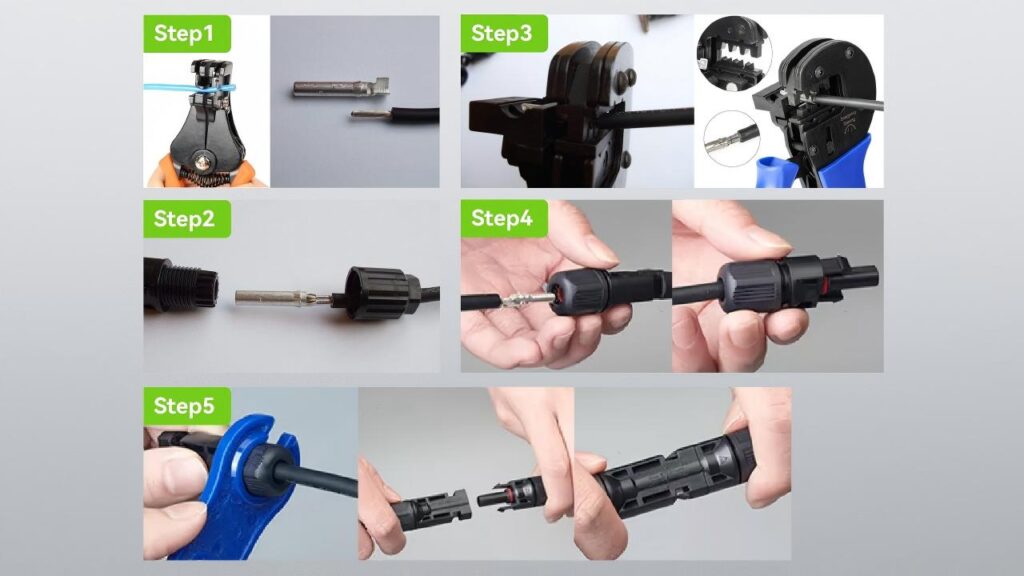
Step-by-Step Guide to Crimp MC4 Connectors
Step 1: Strip the Cable
Use a wire stripper to remove about 6–8 mm of insulation from the end of the solar cable.
Make sure not to damage the copper strands, as this can affect conductivity.
Step 2: Insert the Metal Contact
Take the stripped cable and insert it into the metal crimp contact (pin).
Ensure all strands are fully inserted and none are sticking out.
Step 3: Crimp the Contact
Place the contact into the MC4 crimping tool and apply firm pressure until it locks.
A proper crimp should:
- Be tight and secure
- Not allow the wire to pull out
- Show no visible deformation
This step is the most critical in the entire process.
Step 4: Insert into Connector Housing
Push the crimped contact into the MC4 connector housing until you hear a “click.”
This indicates that the internal locking mechanism is engaged.
Step 5: Tighten the Connector
Use an MC4 wrench to tighten the back cap securely.
This ensures waterproof sealing and strain relief for the cable.
Common Mistakes to Avoid
Even experienced installers can make mistakes. Here are some common issues to watch for:
Using the Wrong Crimp Tool
Leads to loose or unreliable connections.
Incomplete Wire Insertion
Causes poor electrical contact and overheating.
Damaged Cable Strands
Reduces current capacity and efficiency.
Loose Connector Assembly
May compromise waterproof performance.
How to Check a Proper Crimp
After crimping, always perform a quick inspection:
- Gently pull the cable to ensure it is firmly attached
- Check that the contact is fully seated inside the connector
- Verify that the connector locks properly
A simple test can prevent costly issues later in the system.
Why Proper Crimping Matters
Correctly crimped MC4 connectors ensure:
- Stable electrical conductivity
- Reduced power loss
- Improved system safety
- Long-term durability in outdoor environments
In solar installations, even small connection issues can significantly impact overall system performance.
Pro Tips for Better Results
- Always use certified MC4 connectors for compatibility
- Match connector type with cable size
- Use professional-grade crimping tools
- Avoid crimping in wet or dusty environments
These small practices can greatly improve installation quality.
Conclusion
Crimping MC4 connectors is a simple but critical task in solar installations. By following the correct steps and using the right tools, you can ensure a secure, efficient, and long-lasting connection.
If you’re working on a solar project, investing time in proper crimping techniques will help you avoid future maintenance issues and maximize system performance.